Have you ever seen your feline friend lounging around and thought, “What could possibly make this picture more adorable?” The answer is simple: a cat vest!
This blog is your go-to guide for turning ordinary fabric strips into a fabulous fashion statement for your beloved pet.
We’ll take you through the process step by step, from gathering materials to the final fitting, infusing each stage with humor and simplicity.
Whether you’re a seasoned DIY enthusiast or new to the craft, prepare to unleash your creative spirit and earn some serious cat cuddles in return. Let’s make your cat the most stylish feline on the block!
Getting started
Embarking on a cat vest crafting journey begins with understanding that this is more than just a sewing project; it’s a labor of love.
The beauty of creating a cat vest lies in the ability to customize it to your cat’s unique size, shape, and personality, ensuring they’re comfortable and stylish.
This section will cover the foundational steps necessary to kickstart your project, ensuring everything is perfectly aligned for a smooth sewing experience.
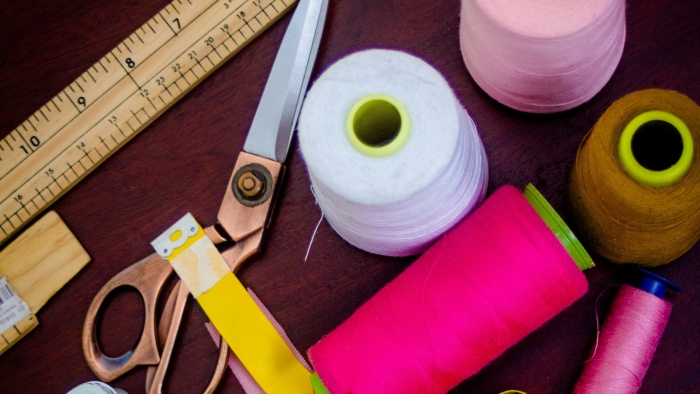
Material gathering
Selecting the right materials is the first step to ensure the cat vest will be comfortable, durable, and, of course, stylish. Here’s a detailed breakdown of what you’ll need:
Fabric Choices: Go for soft, lightweight, and breathable fabrics that will make your cat feel comfortable and at ease. Cotton, linen, and soft jersey are excellent choices. Consider the season; a lighter fabric for summer and something a bit warmer, like fleece, for cooler months. Avoid anything scratchy or heavy that could irritate your cat’s skin or make them too hot.
Scissors: A sharp pair of scissors is crucial for making clean cuts in the fabric. Dull scissors can lead to jagged edges, which can be unsightly and more susceptible to fraying.
Measuring Tape: An accurate measuring tape is essential for taking precise measurements of your cat. This ensures the cat vest fits perfectly, providing comfort without being too tight or too loose.
Sewing Supplies: You’ll need a needle and thread for hand sewing or a sewing machine if you prefer. Ensure your thread is strong enough to hold the pieces together but not too bulky.
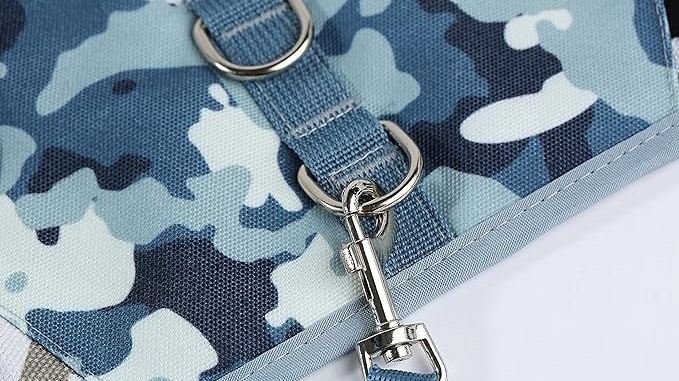
Velcro: Velcro strips serve as a secure closure mechanism, making it easy to put on and take off the vest. They offer adjustability for the perfect fit and are less likely to get caught on objects compared to buttons or zippers.
Measuring your cat
Getting accurate measurements is paramount to creating a cat vest that fits like a glove. Here’s how to do it properly:
Taking Measurements: Use soft measuring tape to measure your cat’s neck circumference, chest (just behind the front legs), and length from the neck to the base of the tail. It might be helpful to have someone assist you to keep your cat calm and still.
Allowance for Movement: It’s essential to add an extra inch or two to your measurements for ease of movement and comfort. This also accounts for any potential shrinkage of the fabric after washing.
Pattern Creation: With your measurements in hand, sketch a simple vest pattern on paper. Include an opening for the head and two openings for the front legs, as well as a strap that goes around the belly. This sketch will serve as your blueprint when cutting the fabric.
Cutting the fabric
The transition from measurements to actual fabric cutting is a thrilling moment. This step is where your cat vest starts to take physical shape:
Pattern Transfer: Lay your fabric flat on a work surface and place your paper pattern on top. Use a fabric marker to trace around the pattern, marking where you’ll need to cut. Don’t forget to mark the spots for the head and leg openings.
Precision Cutting: Following the marks you’ve made, cut out the vest shape with your sharp scissors. Ensure your cuts are smooth and even, especially around the curves for the head and leg openings.
Straps for Security: Cut additional strips of fabric that will serve as straps to secure the vest on your cat. One will go around the neck, and another under the belly. These should be long enough to overlap for the Velcro fastening.
Crafting the vest
With all the prep work done, it’s time to bring your cat vest to life. Sewing can be a meditative process, where each stitch brings you closer to the final product. Let’s dive into the construction phase, where your project really starts to come together.
Sewing the pieces together
The act of sewing the cat vest is where patience and precision come into play. Here’s how to approach it:
Edge Work: Begin by hemming the edges of your cut fabric to prevent fraying. This not only gives the vest a finished look but also ensures durability. You can do this by folding a small portion of the edge over and sewing it down, either by hand or with a sewing machine.
Assembly: Align the sides of the vest, right sides together, and sew along the edges, leaving room for the cat’s legs. It’s like putting together a puzzle, where each piece fits snugly with the next.
Velcro Attachment: The final step in the assembly is attaching Velcro strips to the neck and belly straps. Ensure the Velcro is sewn securely, as this will be the main mechanism for putting on and taking off the vest. Test the strength by pulling gently to simulate the movement of your cat.
Fitting and adjustments
After the initial assembly, it’s crucial to ensure the cat vest fits your cat perfectly. This might require some trial and error:
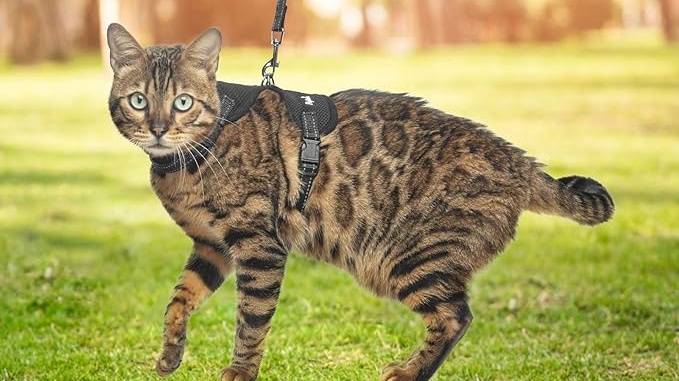
First Fitting: Carefully place the vest on your cat, watching their reaction and comfort level. It should be snug but not restrictive, allowing for free movement.
Observation and Tweaking: Look for any signs of discomfort or areas where the vest might be too loose or tight. It’s important to observe your cat’s behavior while wearing the vest to identify any adjustments needed.
Alterations: Based on your observations, make the necessary alterations. This might involve resizing the neck or belly straps, adjusting the length of the vest, or even adding more Velcro for adjustability.
Adding personal touches
The final step in creating your cat vest is to add those unique touches that reflect your cat’s personality:
Decorative Elements: Personalize the vest with buttons, patches, embroidery, or even fabric paint. This is your chance to get creative and make the vest truly one-of-a-kind. Consider adding your cat’s name or fun designs that reflect their personality.
Safety Features: For cats that enjoy outdoor adventures, consider adding reflective strips or a small bell to the vest. These features can enhance safety by making your cat more visible and audible.
Quality Check: After adding decorations, give the vest a thorough inspection to ensure everything is securely attached. Remember, safety is paramount, and you want to avoid any small parts that could be chewed off or swallowed.
Conclusion
Crafting a cat vest from fabric strips is not just a fun DIY project; it’s an opportunity to express your love and creativity for your feline friend.
This guide has walked you through each step of the process, from material selection to final adjustments, ensuring you have all the information needed to create a cozy, stylish vest for your cat.
Remember, the key to a successful cat vest lies in patience, attention to detail, and a deep understanding of your cat’s needs and preferences.
So, grab your sewing kit, unleash your creativity, and get ready to see your cat strut their stuff in their new, fashionable vest. Happy sewing!
Share:
Facebook
Twitter
Pinterest
LinkedIn
Sophie Mitchell
Sophie Mitchell is a passionate pet enthusiast and seasoned blog writer hailing from Portland, Oregon. Growing up surrounded by a myriad of pets, from dogs and cats to parrots and hamsters, she possesses a deep understanding of their diverse needs. Sophie's blog has become a go-to resource for many pet owners, where she shares insightful advice on pet health, training techniques, and daily care. Beyond writing, she's an active participant in local animal rescue initiatives and often collaborates with veterinarians to ensure her advice is up-to-date. In her free time, Sophie loves hiking with her two Golden Retrievers, Max and Luna.
The moment you consider a dog hunting vest for your adventurous companion, you’re stepping into a world where safety meets functionality. This vest is not
The moment you consider a dog hunting vest for your adventurous companion, you’re stepping into a world where safety meets functionality. This vest is not